Welcome to the Drone community. This document briefly explains the process for activating and configuring a continuous delivery pipeline.
Activation
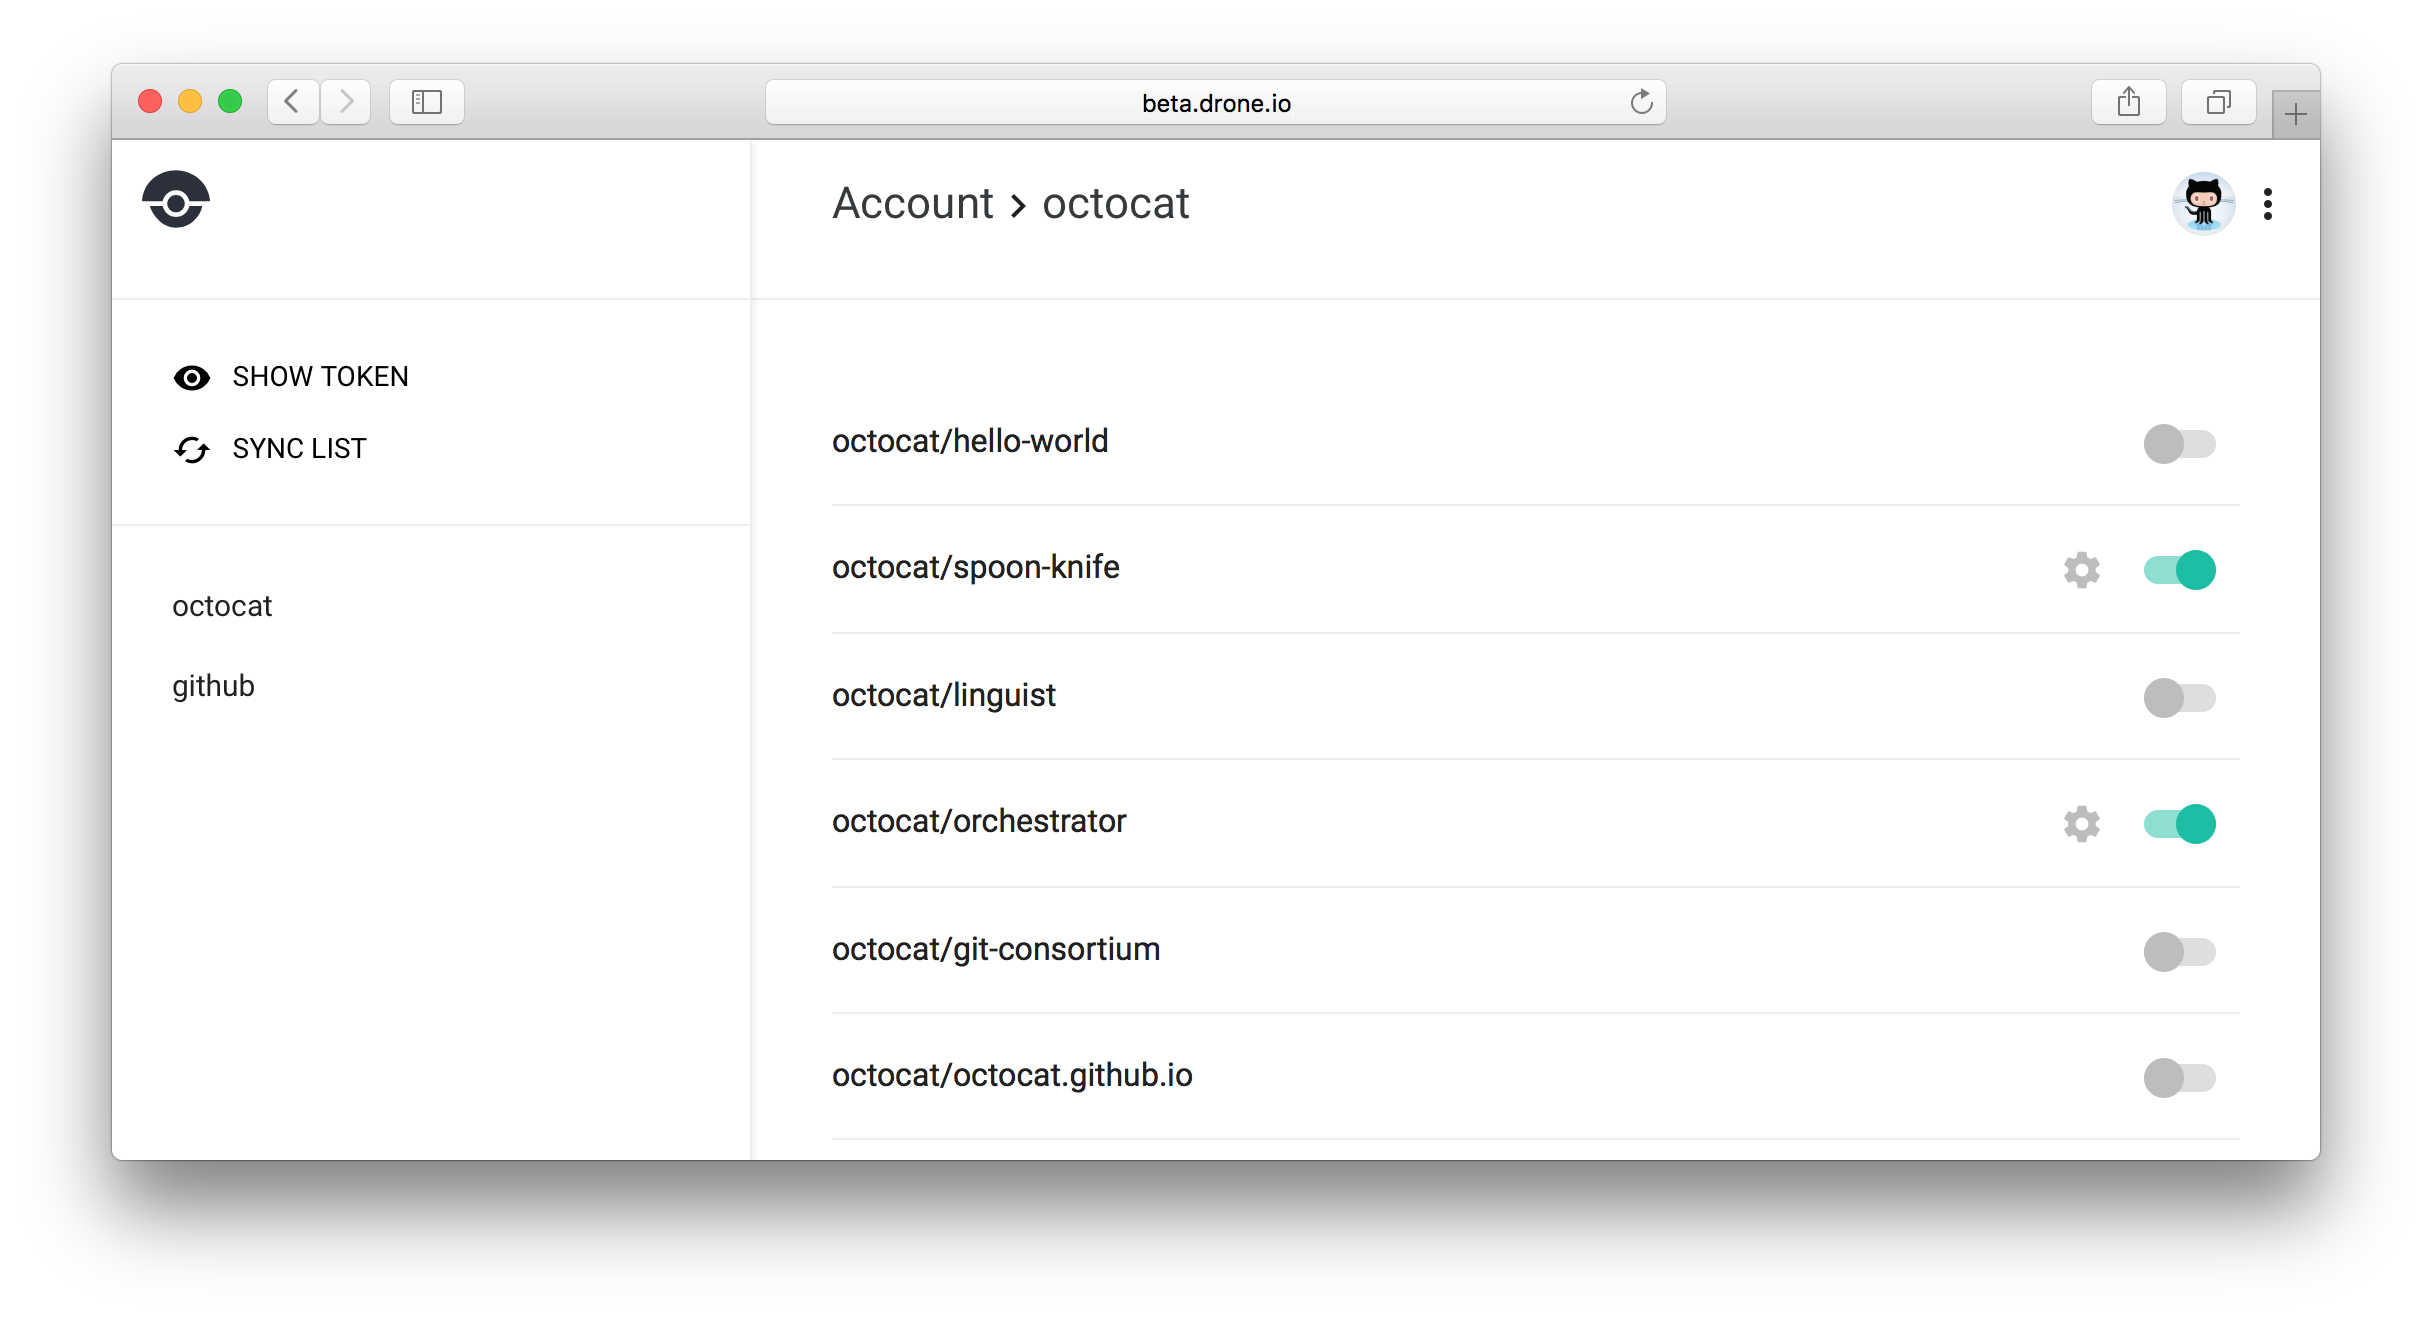
To activate your project navigate to your account settings. You will see a list of repositories which can be activated with a simple toggle. When you activate your repository, Drone automatically adds webhooks to your version control system (e.g. GitHub).
Webhooks are used to trigger pipeline executions. When you push code to your repository, open a pull request, or create a tag, your version control system will automatically send a webhook to Drone which will in turn trigger pipeline execution.

Configuration
To configure you pipeline you should place a .drone.yml file in the root of your repository. The .drone.yml file is used to define your pipeline steps. It is a superset of the widely used docker-compose file format.
Example pipeline configuration:
pipeline:
  build:
    image: golang
    commands:
      - go get
      - go build
      - go test

services:
  postgres:
    image: postgres:9.4.5
    environment:
      - POSTGRES_USER=myapp
Example pipeline configuration with multiple, serial steps:
pipeline:
  backend:
    image: golang
    commands:
      - go get
      - go build
      - go test

  frontend:
    image: node:6
    commands:
      - npm install
      - npm test

  notify:
    image: plugins/slack
    channel: developers
    username: drone
Execution
To trigger your first pipeline execution you can push code to your repository, open a pull request, or push a tag. Any of these events triggers a webhook from your version control system and execute your pipeline.
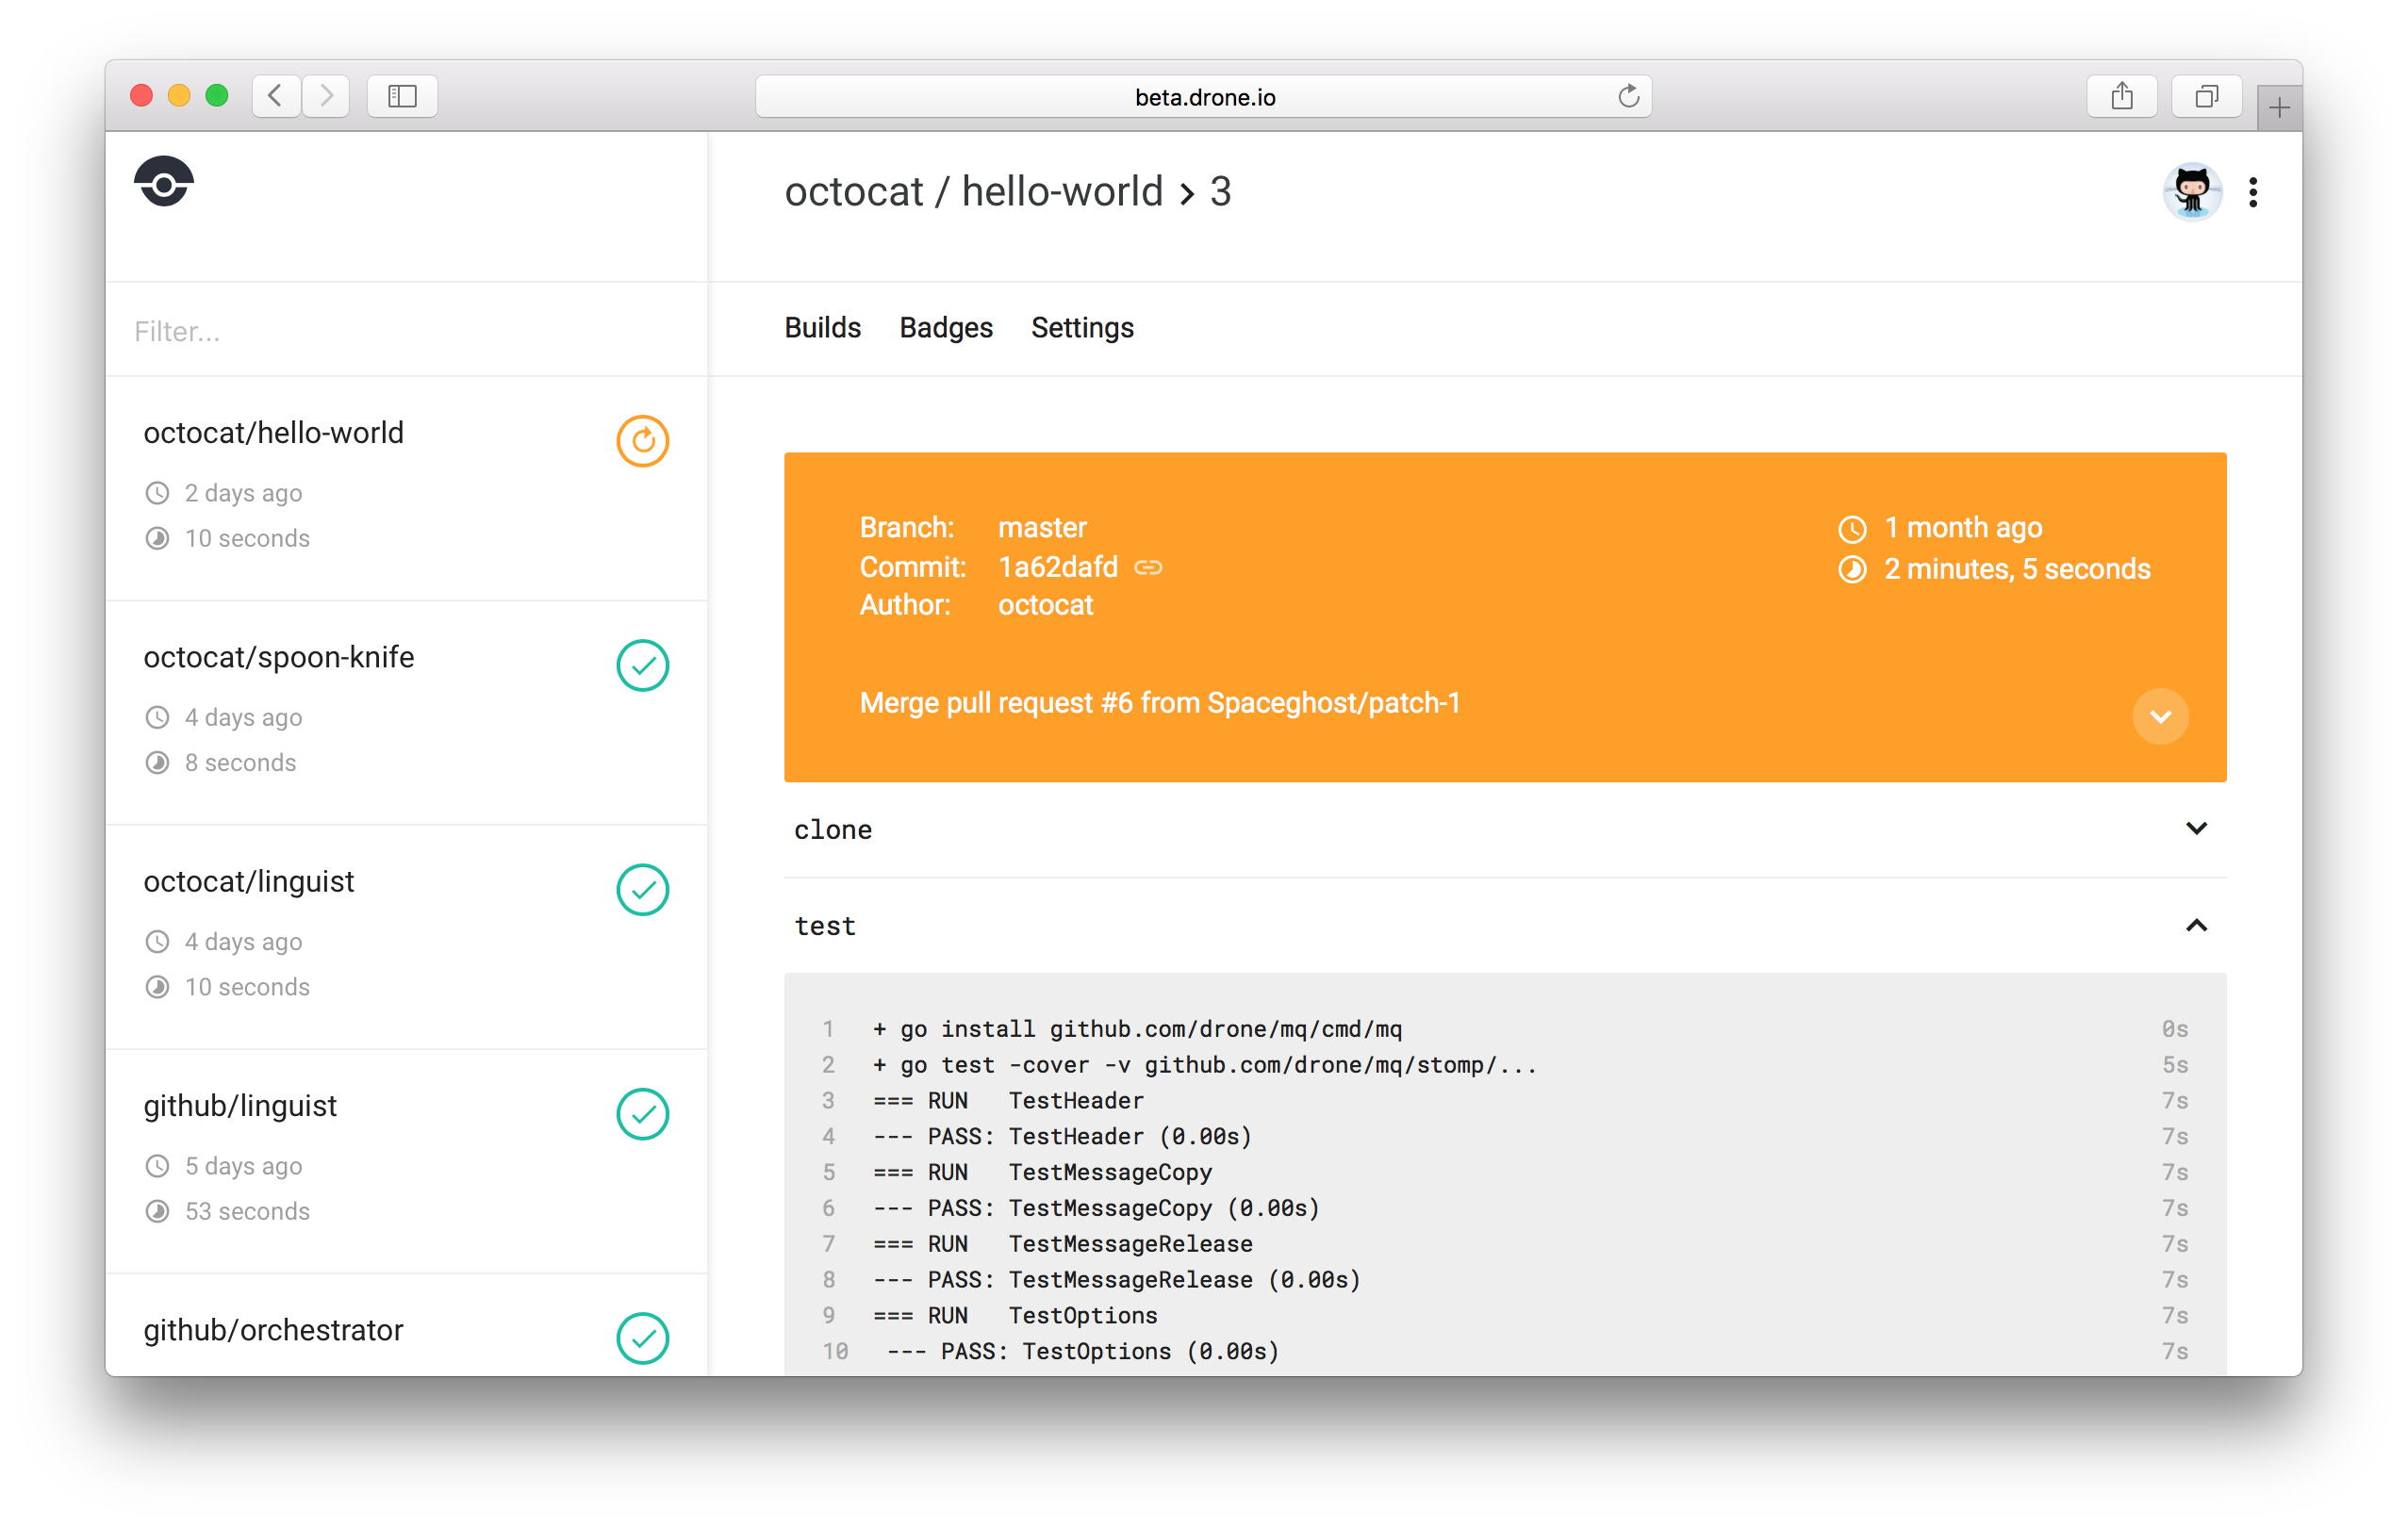
You can view your pipeline execution in realtime in the user interface.

Next Steps
Questions?
We are always happy to help with questions you might have. Search our documentation or check out answers to common questions. You can also post questions or comments to our community forum.