Work with WebSockets
In addition to normal HTTP requests, you can connect to servers using WebSockets. WebSockets allow for two-way communication with a server without polling.
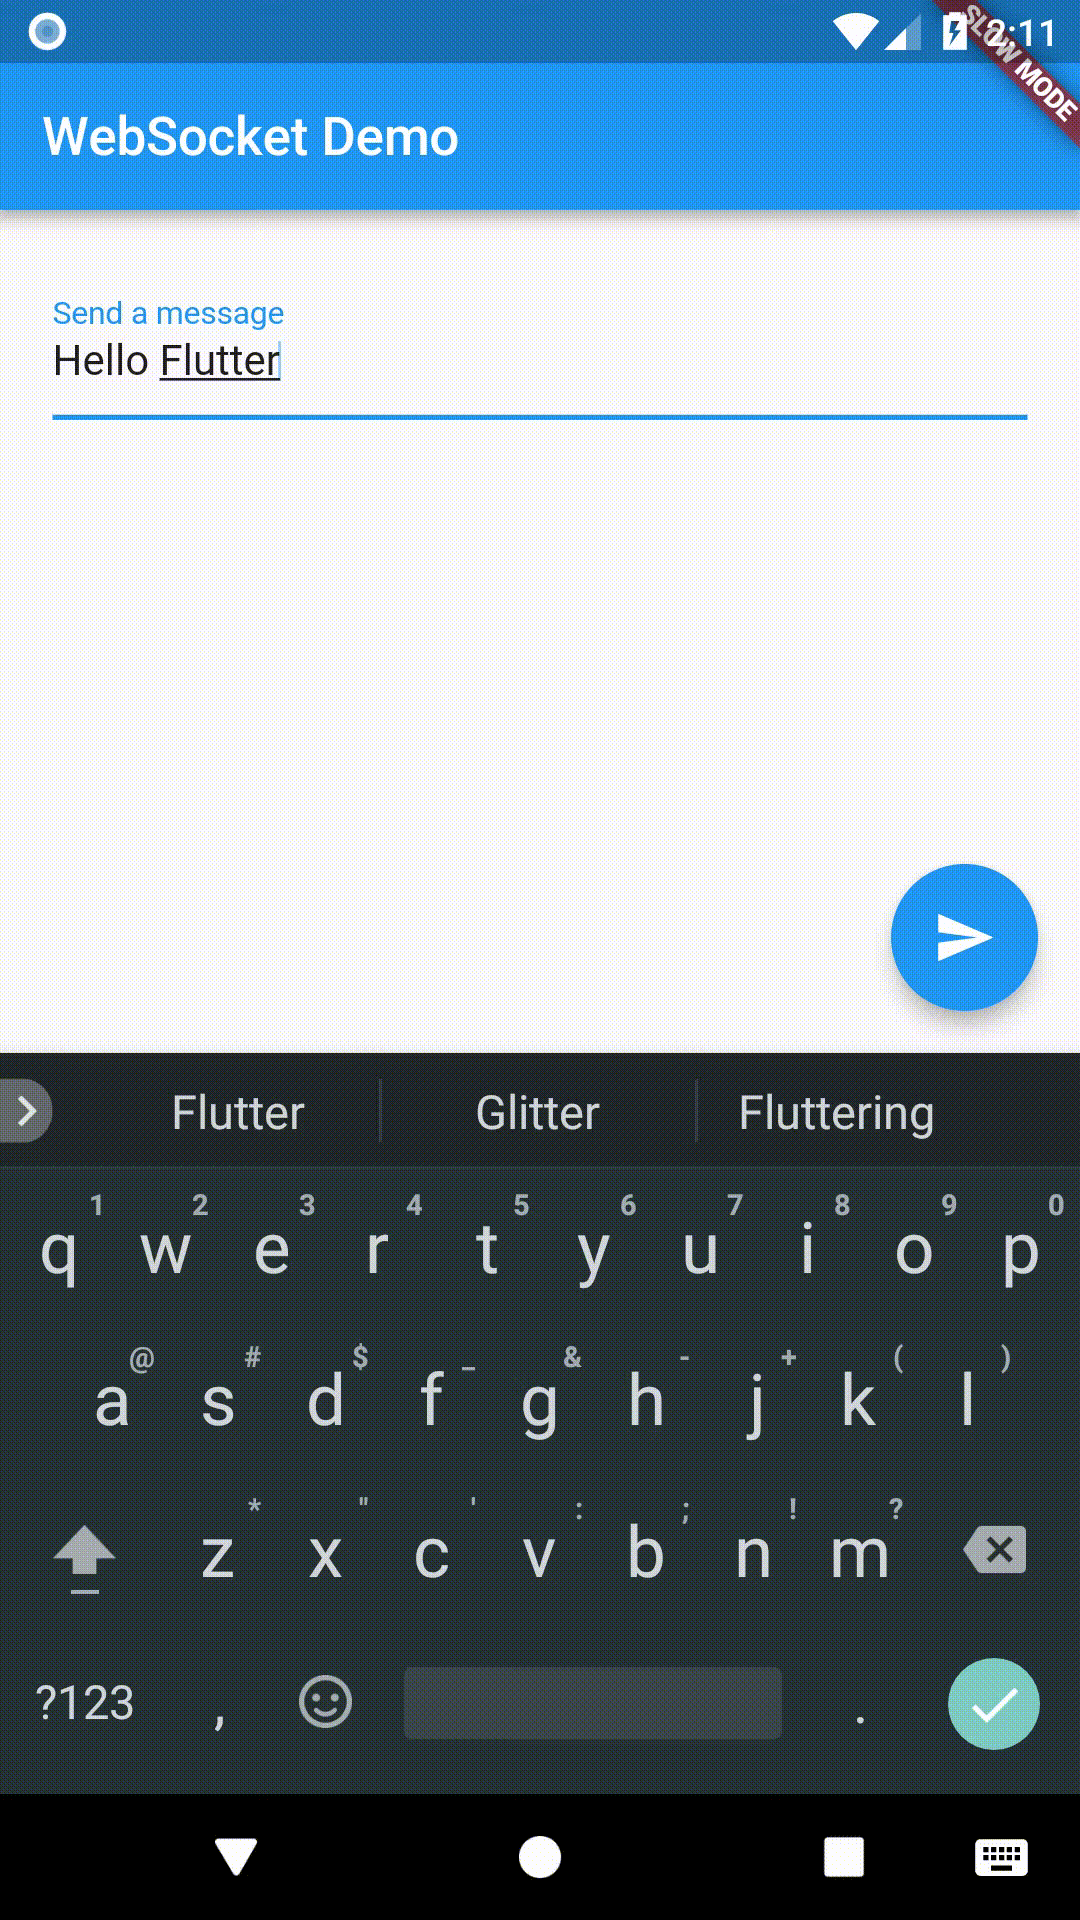
In this example, connect to a test server provided by websocket.org. The server sends back the same message you send to it. This recipe uses the following steps:
- Connect to a WebSocket server
- Listen for messages from the server
- Send data to the server
- Close the WebSocket connection
1. Connect to a WebSocket server
The web_socket_channel package provides the tools you need to connect to a WebSocket server.
The package provides a WebSocketChannel that allows you to both listen for
messages from the server and push messages to the server.
In Flutter, create a WebSocketChannel that connects to a server
in one line:
final channel = IOWebSocketChannel.connect('ws://echo.websocket.org');
2. Listen for messages from the server
Now that you’ve established a connection, listen to messages from the server.
After sending a message to the test server, it sends the same message back.
In this example, use
a StreamBuilder
widget to listen for new messages, and a
Text
widget to display them.
StreamBuilder(
  stream: widget.channel.stream,
  builder: (context, snapshot) {
    return Text(snapshot.hasData ? '${snapshot.data}' : '');
  },
);
How this works
The WebSocketChannel provides a
Stream
of messages from the server.
The Stream class is a fundamental part of the dart:async package. It
provides a way to listen to async events from a data source. Unlike Future,
which returns a single async response, the Stream class can deliver many
events over time.
The StreamBuilder
widget connects to a Stream and asks Flutter to rebuild every time it
receives an event using the given builder() function.
3. Send data to the server
To send data to the server, add() messages to the sink provided
by the WebSocketChannel.
channel.sink.add('Hello!');
How this works
The WebSocketChannel provides a
StreamSink
to push messages to the server.
The StreamSink class provides a general way to add sync or async
events to a data source.
4. Close the WebSocket connection
After you’re done using the WebSocket, close the connection:
channel.sink.close();
Complete example
import 'package:flutter/foundation.dart';
import 'package:web_socket_channel/io.dart';
import 'package:flutter/material.dart';
import 'package:web_socket_channel/web_socket_channel.dart';

void main() => runApp(MyApp());

class MyApp extends StatelessWidget {
  @override
  Widget build(BuildContext context) {
    final title = 'WebSocket Demo';
    return MaterialApp(
      title: title,
      home: MyHomePage(
        title: title,
        channel: IOWebSocketChannel.connect('ws://echo.websocket.org'),
      ),
    );
  }
}

class MyHomePage extends StatefulWidget {
  final String title;
  final WebSocketChannel channel;

  MyHomePage({Key key, @required this.title, @required this.channel})
      : super(key: key);

  @override
  _MyHomePageState createState() => _MyHomePageState();
}

class _MyHomePageState extends State<MyHomePage> {
  TextEditingController _controller = TextEditingController();

  @override
  Widget build(BuildContext context) {
    return Scaffold(
      appBar: AppBar(
        title: Text(widget.title),
      ),
      body: Padding(
        padding: const EdgeInsets.all(20.0),
        child: Column(
          crossAxisAlignment: CrossAxisAlignment.start,
          children: <Widget>[
            Form(
              child: TextFormField(
                controller: _controller,
                decoration: InputDecoration(labelText: 'Send a message'),
              ),
            ),
            StreamBuilder(
              stream: widget.channel.stream,
              builder: (context, snapshot) {
                return Padding(
                  padding: const EdgeInsets.symmetric(vertical: 24.0),
                  child: Text(snapshot.hasData ? '${snapshot.data}' : ''),
                );
              },
            )
          ],
        ),
      ),
      floatingActionButton: FloatingActionButton(
        onPressed: _sendMessage,
        tooltip: 'Send message',
        child: Icon(Icons.send),
      ), // This trailing comma makes auto-formatting nicer for build methods.
    );
  }

  void _sendMessage() {
    if (_controller.text.isNotEmpty) {
      widget.channel.sink.add(_controller.text);
    }
  }

  @override
  void dispose() {
    widget.channel.sink.close();
    super.dispose();
  }
}