Deploy Enterprise Edition on Linux servers
Estimated reading time: 3 minutesThese are the docs for
To select a different version, use the selector below.
The best way to try Docker Enterprise Edition for yourself is to get the 30-day trial available at the Docker Store.
Once you get your trial license, you can install Docker EE on your Linux servers. Make sure all the hosts you want to manage with Docker EE have a minimum of:
- Docker Enterprise Edition version 17.06 or higher
- Linux kernel version 3.10 or higher
- 4.00 GB of RAM
- 3.00 GB of available disk space
Also, make sure the hosts are running one of these operating systems:
- A maintained version of CentOS 7. Archived versions aren’t supported or tested.
- Red Hat Enterprise Linux 7.0, 7.1, 7.2, or 7.3
- Ubuntu 14.04 LTS or 16.04 LTS
- SUSE Linux Enterprise 12
- Oracle Linux 7.3
Learn more about Docker EE system requirements.
Step 1: Install Docker EE Container Engine
Install the Docker Enterprise Edition container engine on all hosts you want to manage by following these instructions.
Step 2: Install Universal Control Plane
Docker Universal Control Plane (UCP) allows managing from a centralized place your images, applications, networks, and other computing resources.
Use ssh to log in to the host where you want to install UCP and run:
$ docker container run --rm -it --name ucp \
  -v /var/run/docker.sock:/var/run/docker.sock \
  docker/ucp:2.2.4 install \
  --host-address <node-ip-address> \
  --interactive
This runs the install command in interactive mode, so that you’re prompted for any necessary configuration values.
Learn more about the UCP installation.
What about Windows? When you have UCP installed, you can join Windows worker nodes to a swarm.
Step 3: License your installation
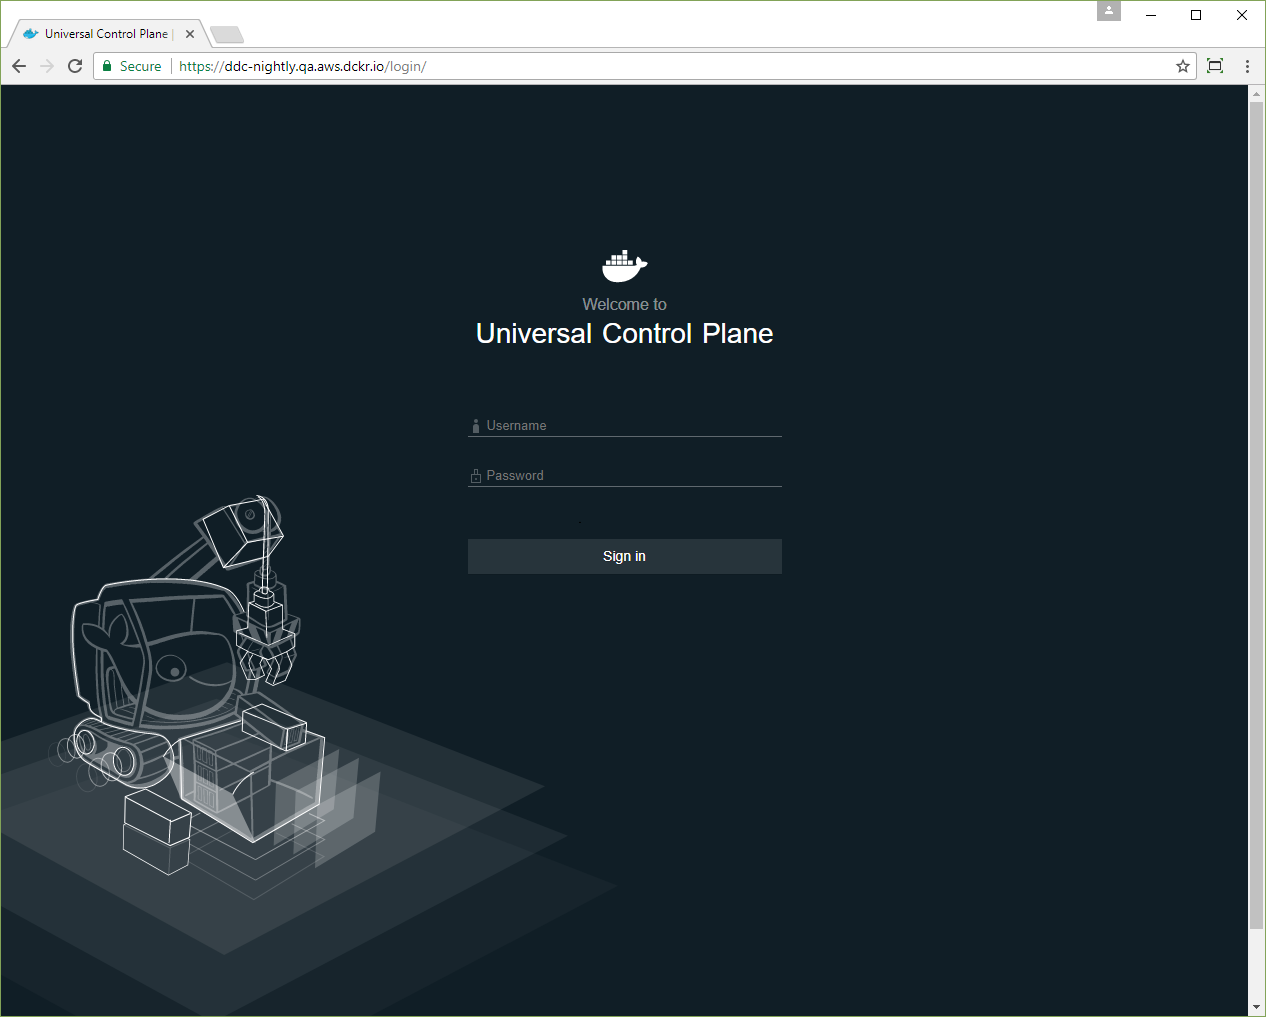
Now that UCP is installed, you need to license it. In your browser, navigate to the UCP web UI, log in with your administrator credentials and upload your license.

Get a free trial license if you don’t have one.
Step 4: Join more nodes to UCP
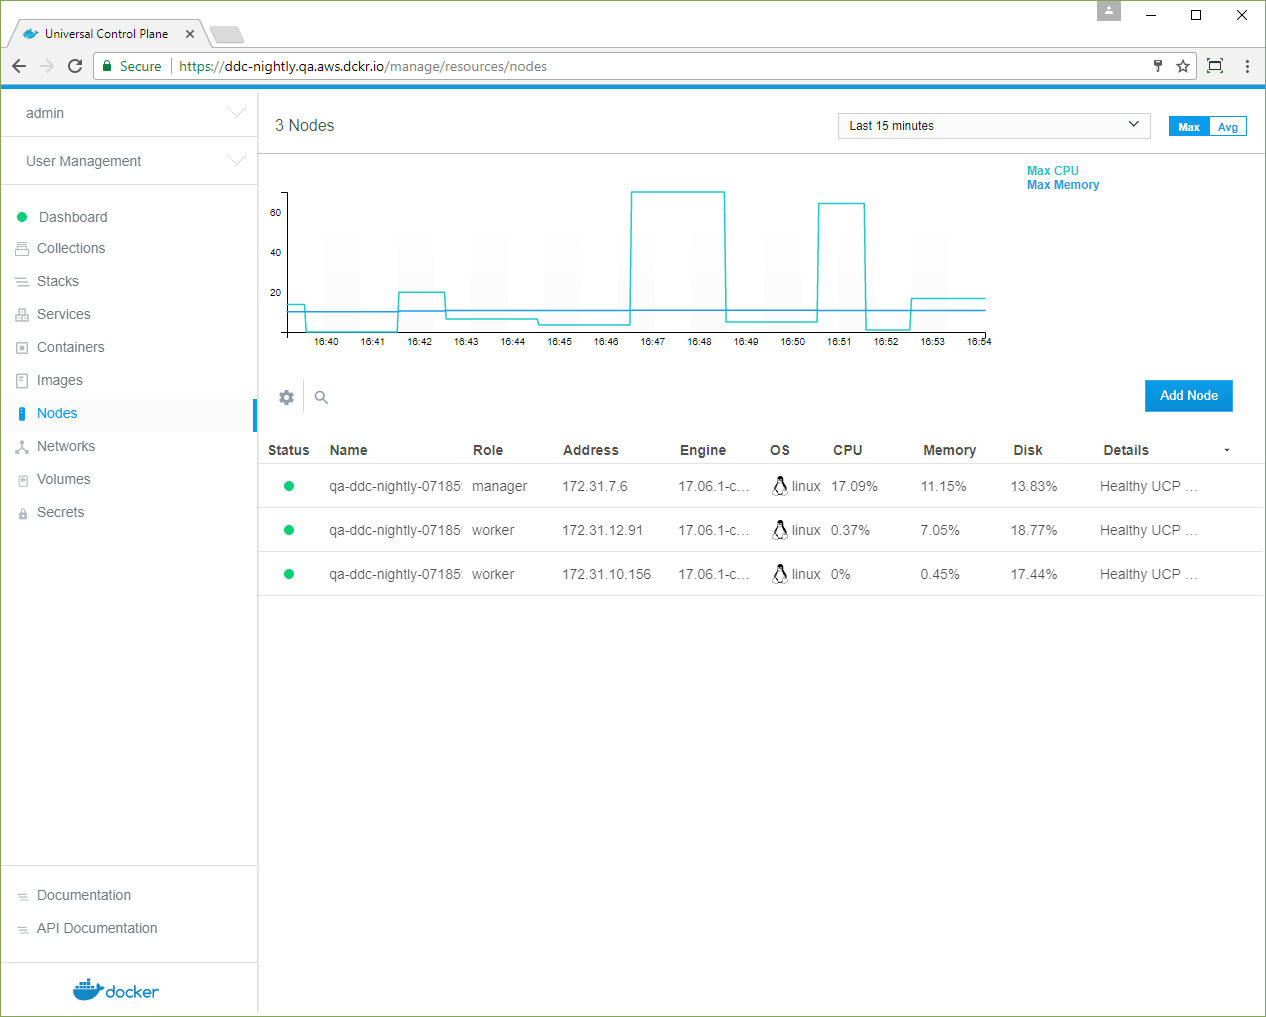
Join more nodes so that you can manage them from UCP. Go to the UCP web UI and navigate to the Nodes page.

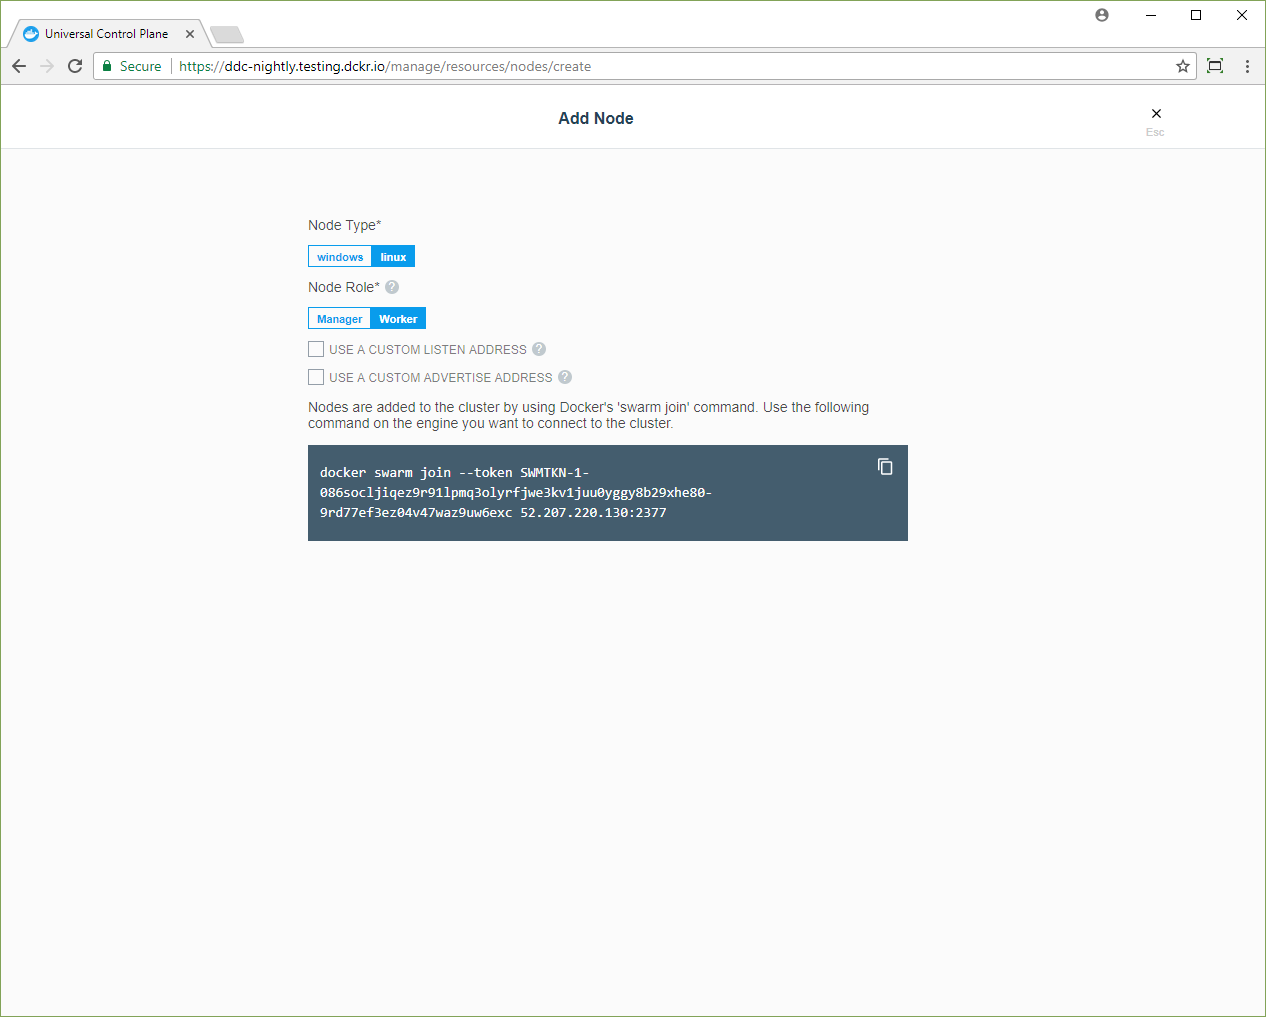
Click the Add Node button to add a new node.

Check Add node as a manager to join the node as a manager to provide replication and make UCP highly available. For a highly available installation, make sure you have 3, 5, or 7 manager nodes.
Copy the command to your clipboard, and run it on every node that you want to be managed by UCP. After you run the command in the node, the node will show up in the UP web UI.
Step 5: Install Docker Trusted Registry
Docker Trusted Registry (DTR) is a private image registry so that you can manage who has access to your Docker images. DTR needs to be installed on a node that is being managed by UCP.
Use ssh to log in to the host where you already installed UCP, and run:
$ docker container run -it --rm \
  docker/dtr:2.4.0 install \
  --ucp-node <node-hostname> \
  --ucp-insecure-tls
Where the --ucp-node is the hostname of the UCP node where you want to deploy
DTR. --ucp-insecure-tls tells the installer to trust the certificates used
by UCP.